Editace vratek
Pro vytvořené vratky v systému je možná také jejich editace, která se liší dle aktuálního stavu, ve kterém se vratka nachází.
U vratek ve stavu Očekává se je možná editace polí:
E-shop ID vratky;
důvod vratky - výběr z:
Nedoručitelná zásilka;
poškozeno při přepravě;
bez důvodu;
vypadá odlišně/velikost nesedí;
není podle mých představ;
pozdní doručení.
popis vratky;
dopravce vratky;
služba dopravce vratky;
sledovací číslo vratky;
dopravu vratky platí - výběr z:
Skladon;
e-shop;
zákazník.
stav vratky - výběr z:
Očekává se;
zrušena.
poznámka;
e-shop poznámka;
soubory;
- řešení - výběr z:
- Vráceno na sklad;
- přijata jako poškozená;
- obnoveno do původního stavu;
- neúspěšné obnovení do původního stavu.
Řešení můžete upravit na úrovni konkrétních produktů v tabulce s produkty (Přidání produktu) ve spodní části stránky nebo další produkty přidat. Po kliknutí na tlačítko Odebrat produkt produkty z vratky odstranit.

Ve všech ostatních stavech vratky je editace možná pouze pro pole E-shop poznámka, která slouží pro vkládání poznámek uživatelů.
Proces editace vratky probíhá dle následujícího postupu:
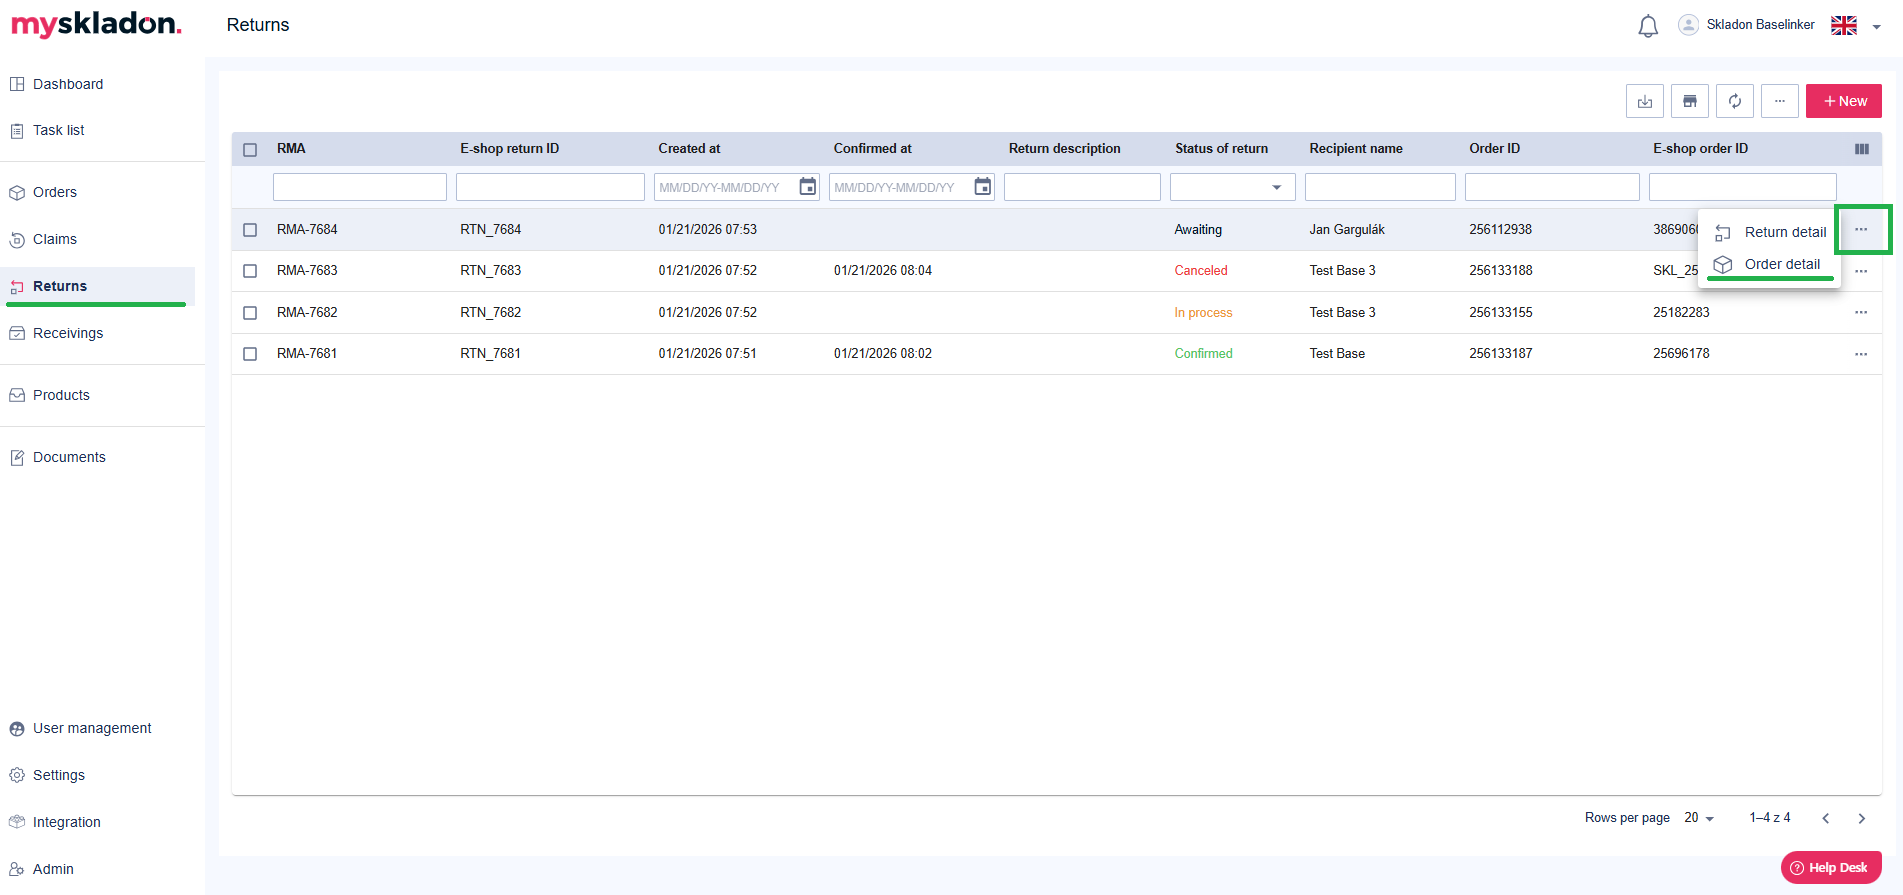
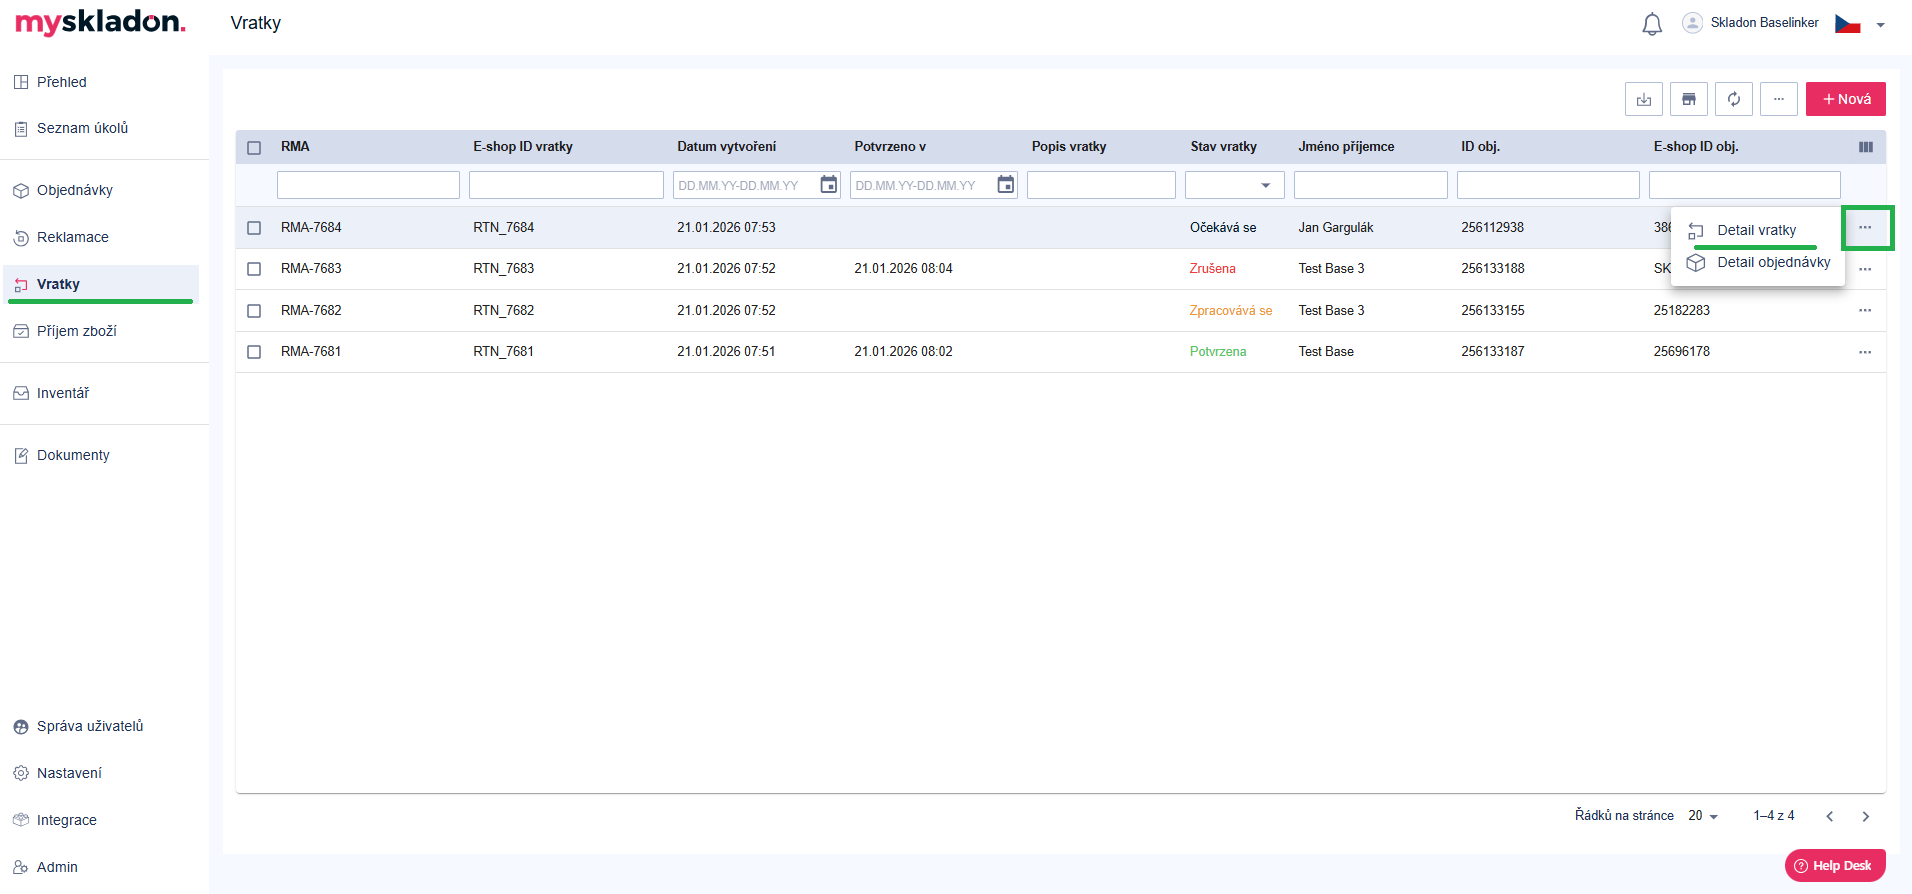
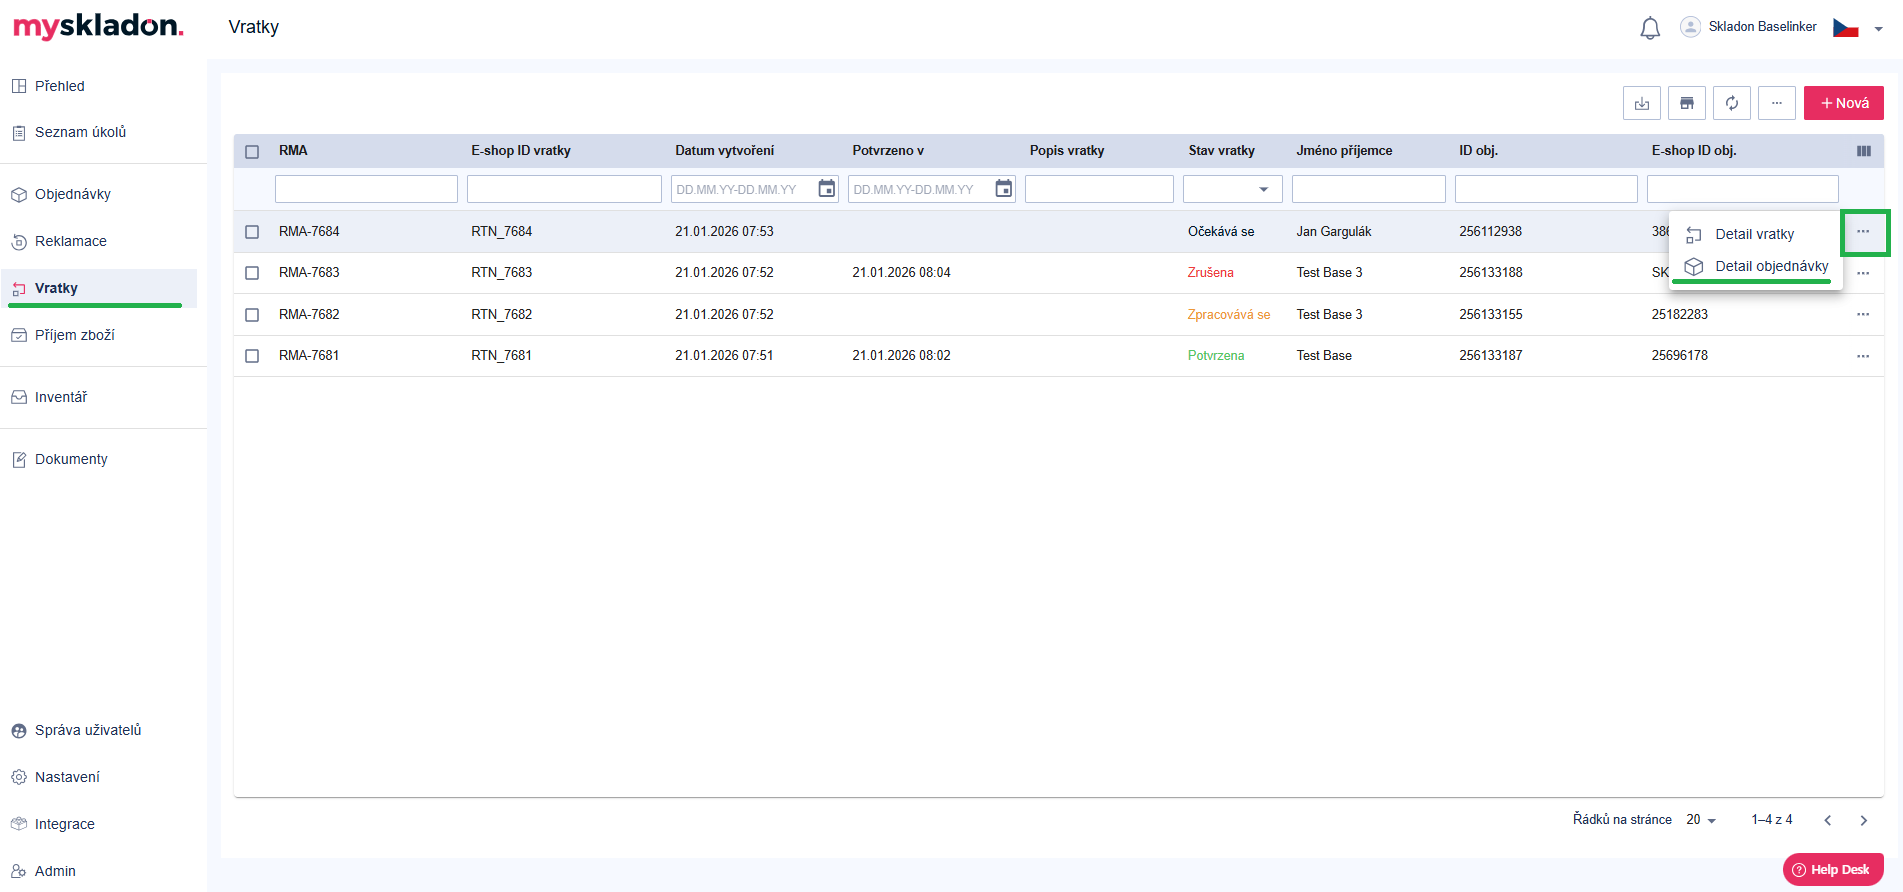
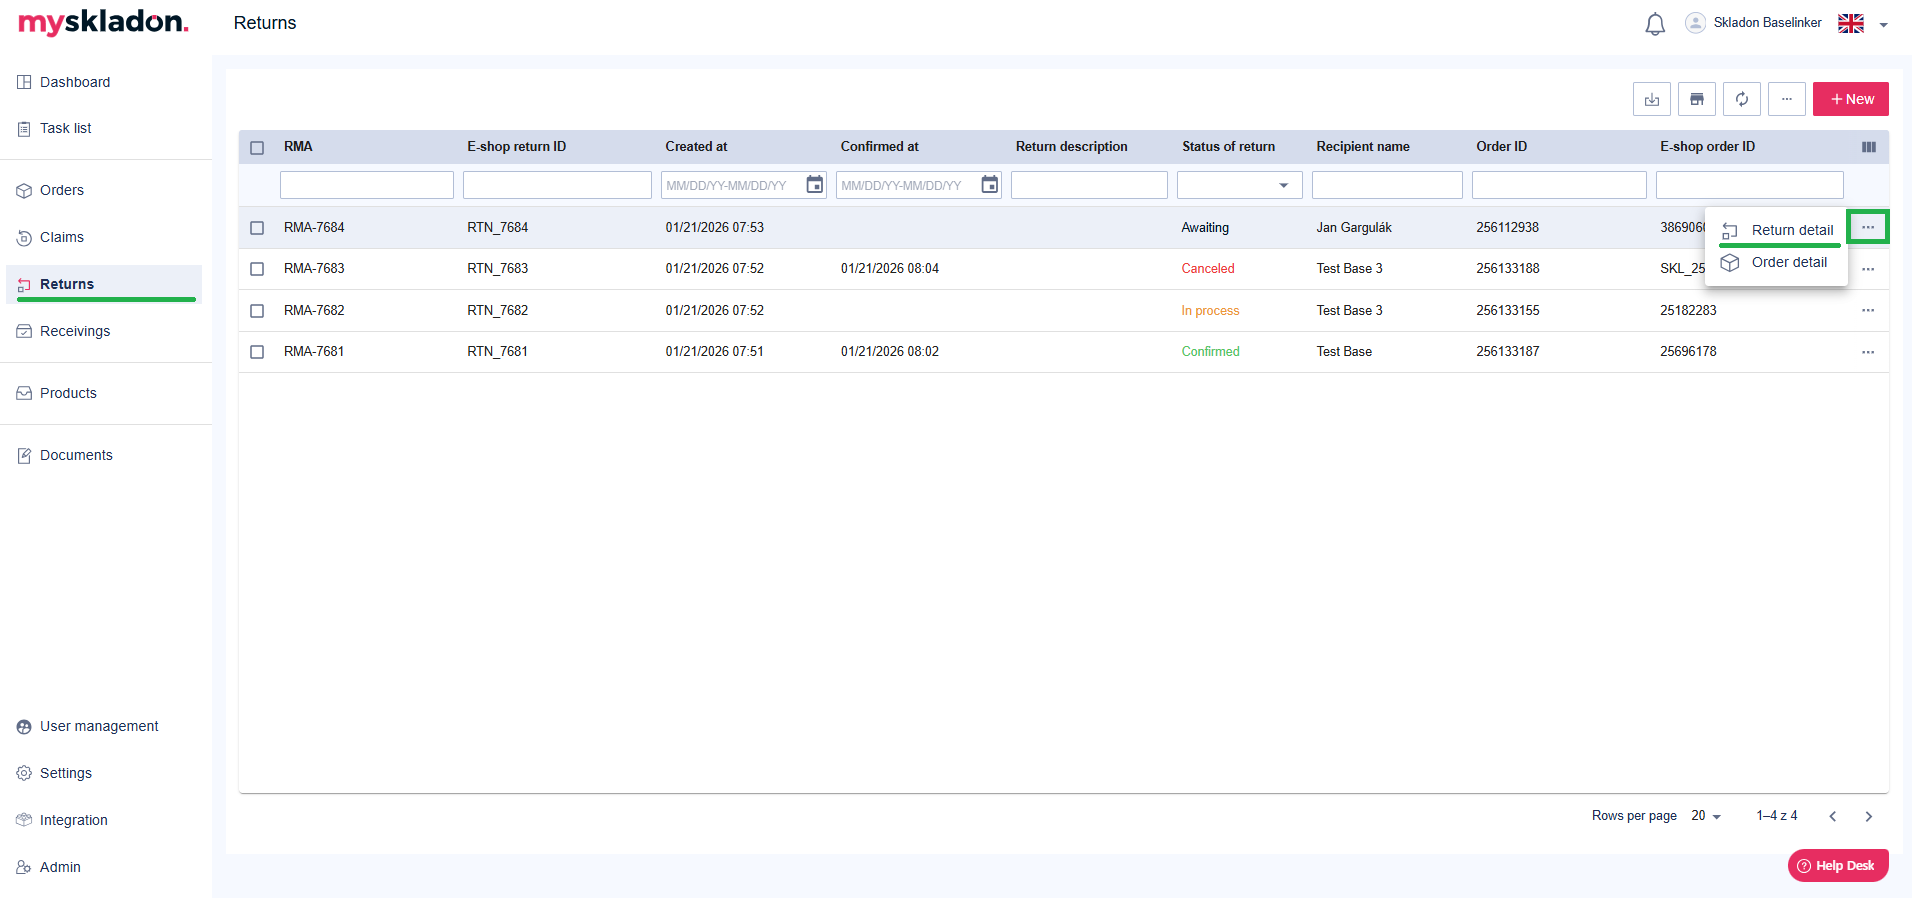
1. V sekci Vratky najděte konkrétní vratku, kterou chcete editovat, a klikněte na tlačítko Detail vratky na konci řádku.
2. Ve středovém panelu aplikace se zobrazí okno Detail vratky. Pro editaci klikněte do požadovaného pole, upravte text nebo zadejte novou informaci.
3. Změny uložíte kliknutím na tlačítko Uložit v pravém horním rohu středového panelu.
4. Pro návrat do přehledu vratek klikněte na šipku zpět v levém horním rohu.

Změny u konkrétní vratky jsou automaticky uloženy a zobrazí se v přehledu v sekci Vratky.
Stav vratek lze změnit také hromadně, a to u vratek, které jsou ve stavu, kdy je změna stavu povolena. Rozpis povolených změn stavů vratek je uveden v tabulce v kapitole Stavy vratek.
Proces hromadné změny stavu vratek probíhá dle následujícího postupu:
1. V přehledu vratek označte požadované vratky zaškrtnutím políčka (v checkboxu) u příslušných řádků a poté klikněte na akční tlačítko Více možností, následně na Změnit stav vratek

2. Po kliknutí na tlačítko Změnit stav vratek se zobrazí nové okno s rozbalovací nabídkou se seznamem dostupných stavů - vyberte požadovaný stav a klikněte na tlačítko OK

3. Změny u konkrétních vratek jsou uloženy a zobrazeny v záložce Historie v detailu vratky.
Pokud si přejete zobrazit detail objednávky, která je provázaná s vratkou (vratka byla vytvořena na danou objednávku), klikněte na tlačítko Detail objednávky na konci řádku u vratky, pro kterou si přejete detail zobrazit.
Editing returns
For the returns created in the system, it is also possible to edit them, which varies according to the current state in which the return is located.
Field editing is possible for returns in the Awaiting state:
E-shop return ID;
return reason - selection from:
- Undeliverable;
- damaged;
- unknown;
- looks different/size doesn't fit;
- don’t like the item;
- late delivery.
return description;
return shipper;
return shipper service;
return tracking number;
return shipping paid by - selection from:
Skladon;
provider;
customer.
status of return - selection from:
Awaiting;
cancelled.
note;
e-shop note;
files;
- resolution - selection from:
- Returned to inventory;
- returned as damaged;
- restored to original;
- failed to restore to original.
You can edit the solution at the product level in the product table (Add Product) at the bottom of the page or add more products. You can also remove products from the return when you click on Remove Product button.

In all other return states, editing is only possible for the E-shop note field, which is used for inserting user notes.
The process of editing a return is as follows:
1. In the Returns section, find the specific return you want to edit and click the Return Detail button at the end of the row.
2. In the application's center panel, the Returns Detail window appears. To edit, click in the desired field, edit the text or enter new information.
3. To save your changes, click the Save button in the upper right corner of the middle panel.
4. Click the back arrow in the upper left corner to return to the Returns Overview.

Changes to a particular return are automatically saved and displayed in the overview in the Returns section
You can also change the status of returns in bulk for returns that are in a status where the status change is enabled. A breakdown of the allowed changes to returns statuses is shown in the table in the Return statuses chapter.
The process of changing the status of returns in bulk follows the following procedure:
1. In the return overview, mark the desired returns by ticking the checkbox next to the relevant rows and then click on the action button More options, then on Change return status.
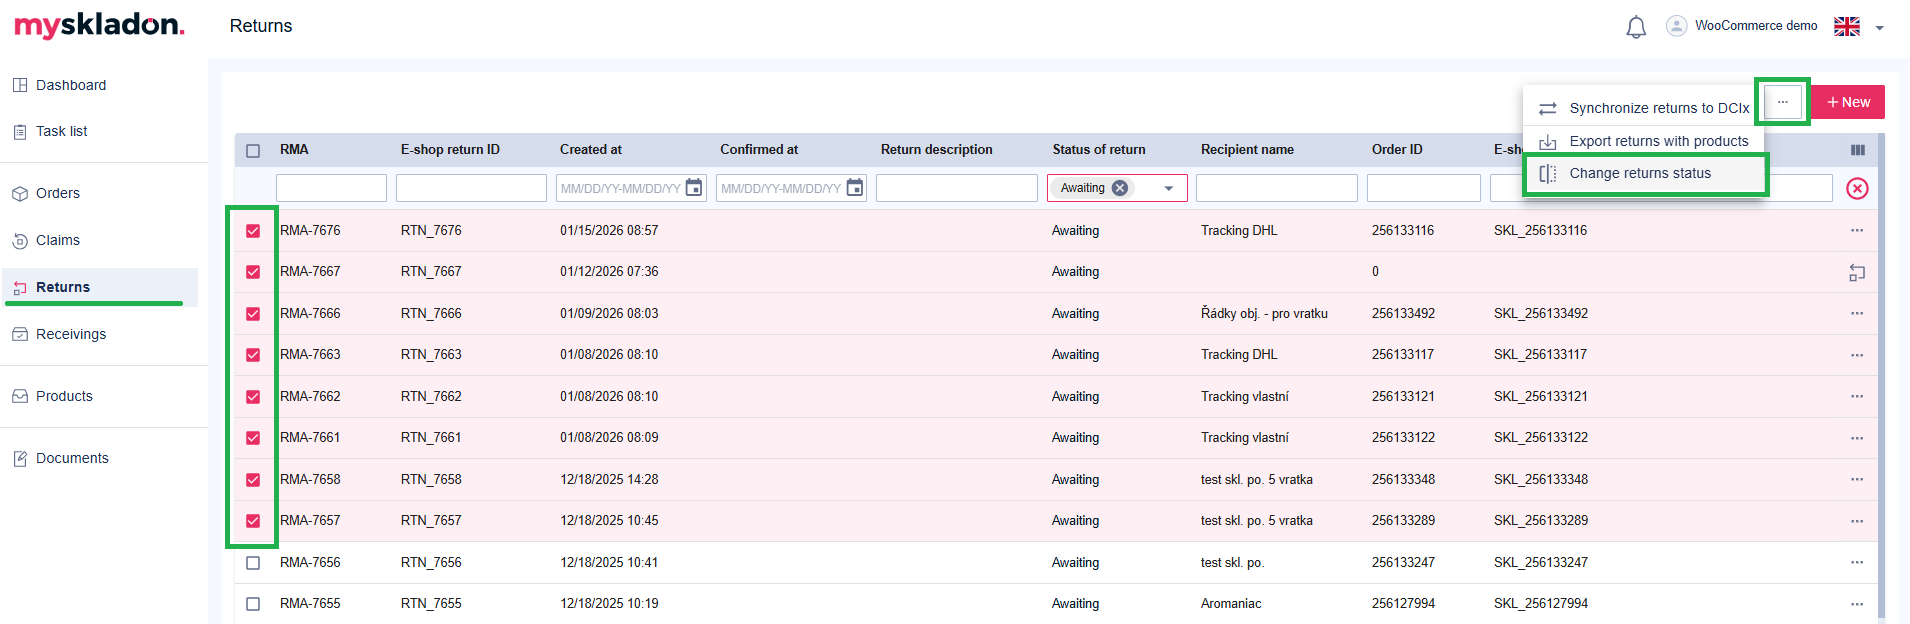
2. After clicking on the Change return status button, a new window will appear with a drop-down menu with a list of available statuses - select the desired status and click OK.

3. Changes to a specific return are saved and displayed in the History tab in the return details.
If you wish to view the detail of an order that is linked to a return (the return has been created for that order), click on the Order Detail button at the end of the line for the return for which you wish to view the detail.